I took a short sewing class about fabric art: Stitch and Slash. It's not really about sewing, but about working with layers of fabrics to achieve a particular style and texture to your fabric that you can then use to create something. A lot of times this technique is used in works of art, home decor pillows, or even personal tote bags. I've never seen it as part of anyones clothing, but I suppose you could.
The lessons were great. They focus on color combinations, textures, and hues, no matter what the print or design. I played around with scraps from the stash of fabric and chose 4 fabrics of black and white and prints. I layers the fabric black, black/pink, hexagons, and white on top. I saved the black and white polka dot for a different place in the project.
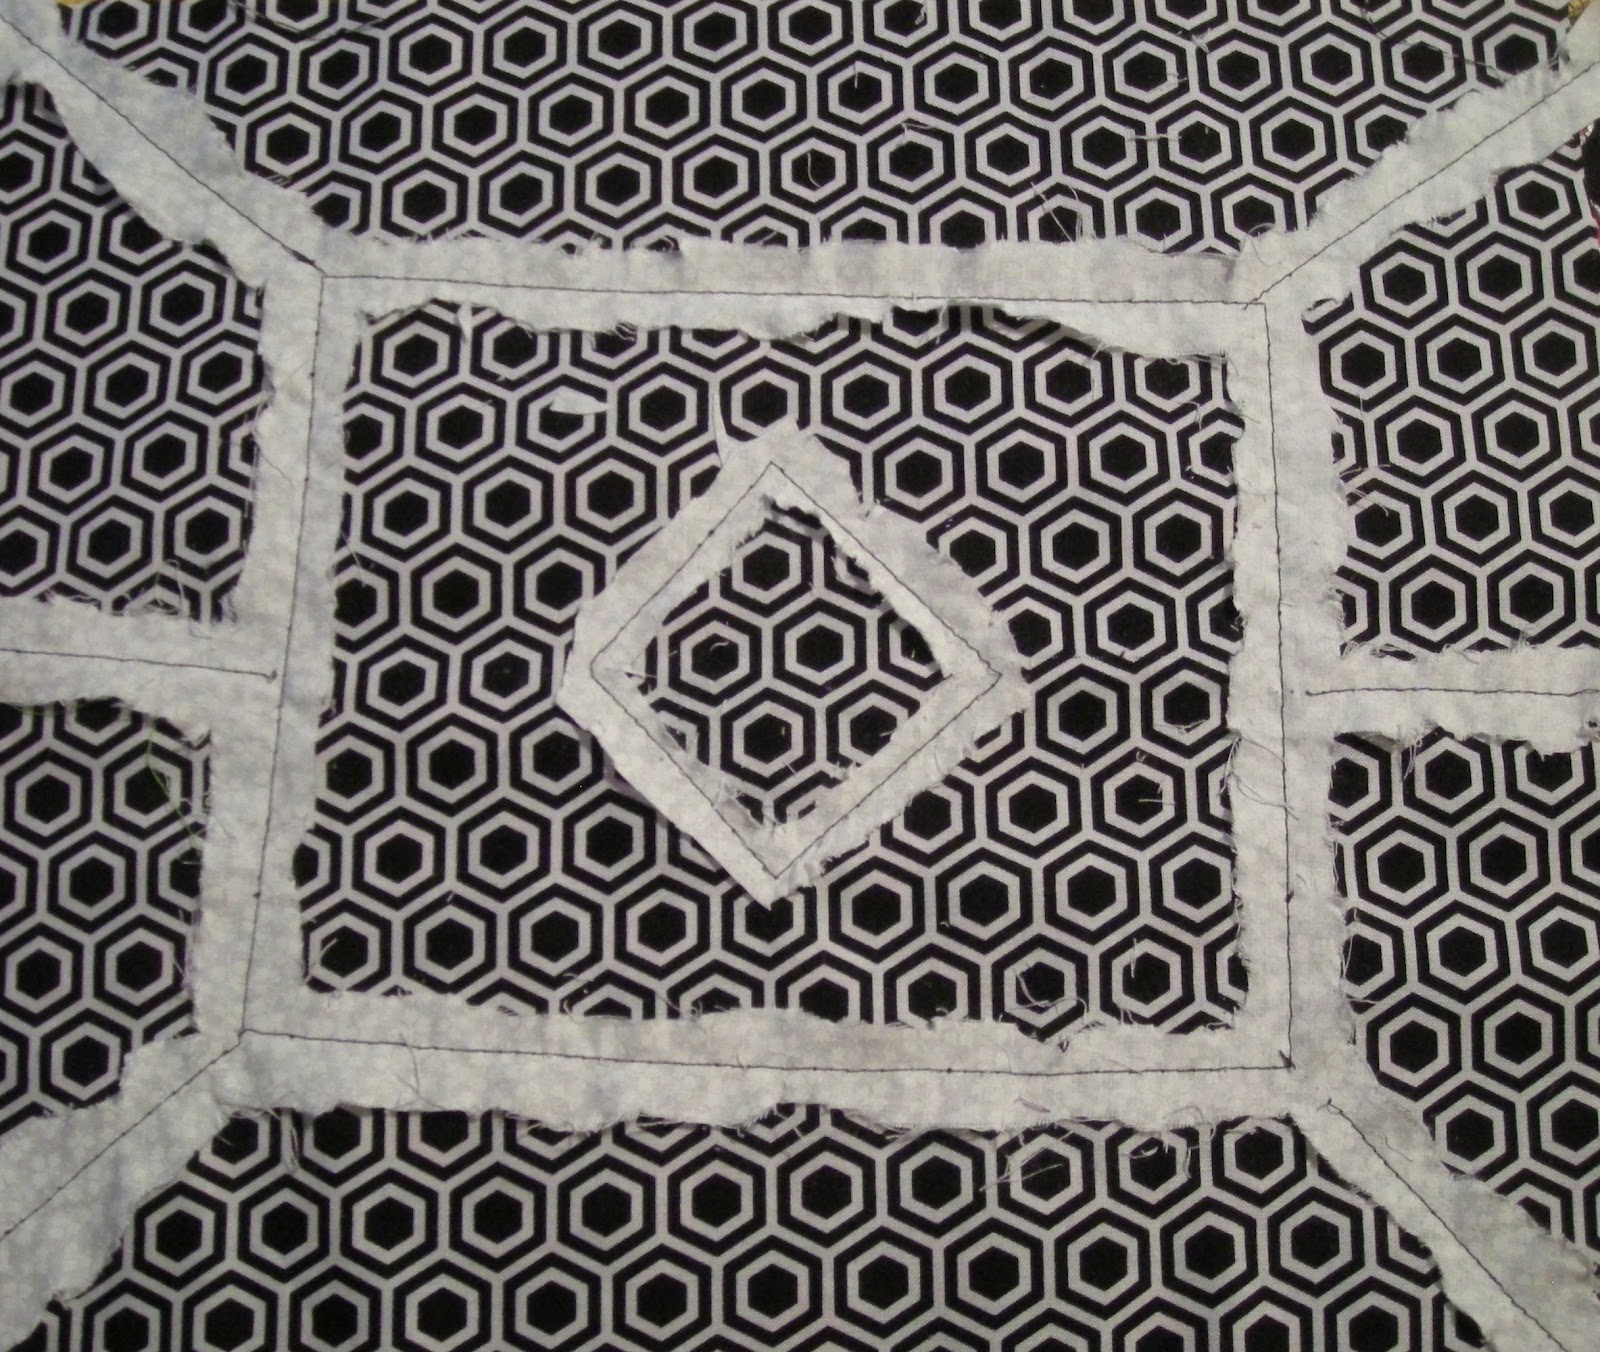
Next, I came up with a design and sewed it (black thread) through the layers (white on top) I kept my design super simple and used straight lines. In hind-sight, I think straight lines might've made it more difficult. FILE UNDER "Things to do differently next time."
Then, came the fun part. Using a seam ripper, I just started taking off layer by layer. The idea was to leave jagged edges to create texture and reveal different layers of the fabrics.
Layer 1:
Layer 2:
Layer 3:
And finally:
The final step in fabric preparation was to add more interest/texture with embellishments like ribbons and machine embroidery. My sewing machine is old, old, old and doesn't have any special stitches other than zig zig, but this is what I came up with.
The ribbon and yarn pieces I attached have a slight silver thread running through them. Good enough for this project (plus, I didn't have to buy anything else. That was a priority!)
Now that the fabric is prepared, I decided to make something out of it. Again, using what I had on hand in the craft closet, I chose to make another insulated lunch bag. I'm calling it shabby chic.
Bring on the PBJ and leftovers. Lunch is served!
As a final, "over the top" touch, I added some buttons and beading in the black areas for added texture. It doesn't show up that well in the photo, but here's the final picture.


No comments:
Post a Comment