Tuesday, January 17, 2012

Decision Time


After having the basement/family room remodeled, the last decision we need to make is what kind of coverings to put at the tiny basement windows.  The windows are only 13 x 30 and NOTHING in the stores is made for that size.  I put my thinking cap on and armed with a gift certificate to JoAnn's  Fabrics from my future son-in-law, I decided that I could make something.

While I was in college, had a summer job at a drapery factory.  It's long gone out of business (and it was NOT my fault!)  That summer, I got to make drapery pleats all day long on a huge sewing machine.  I remember it being loud and repetitive (I was only step number 3 in the long process of making draperies) and I got to do a lot of singing/practicing/memorizing arias, etc for my upcoming Senior Recital at school. It was so loud...no one could hear me. I thought it was a good use of my time, but now I guess I also have a hidden skill when it comes to draperies (Maybe)

I found some material at JoAnn's that was super on sale (50% off), plus I had a coupon. Because it was a remnant, I got another 50% off the 50%. Deal! No pleats on this one, just a pocket at the top for the curtain rod.

Two panel fullness by the fireplace
Now, the issue is: Should I have one panel over the window, or two?  I like the clean look of the one panel, but having two panels makes it look more finished and blocks out more light (and hopefully, blocks more cold air)  Then again, the two panels are so full, it sort of looks like a kitchen window.  

What to do? Right now, I have one window done of each style.  Perhaps I'll live with this for a few days and try to decide by the weekend when I have time to work on it again.

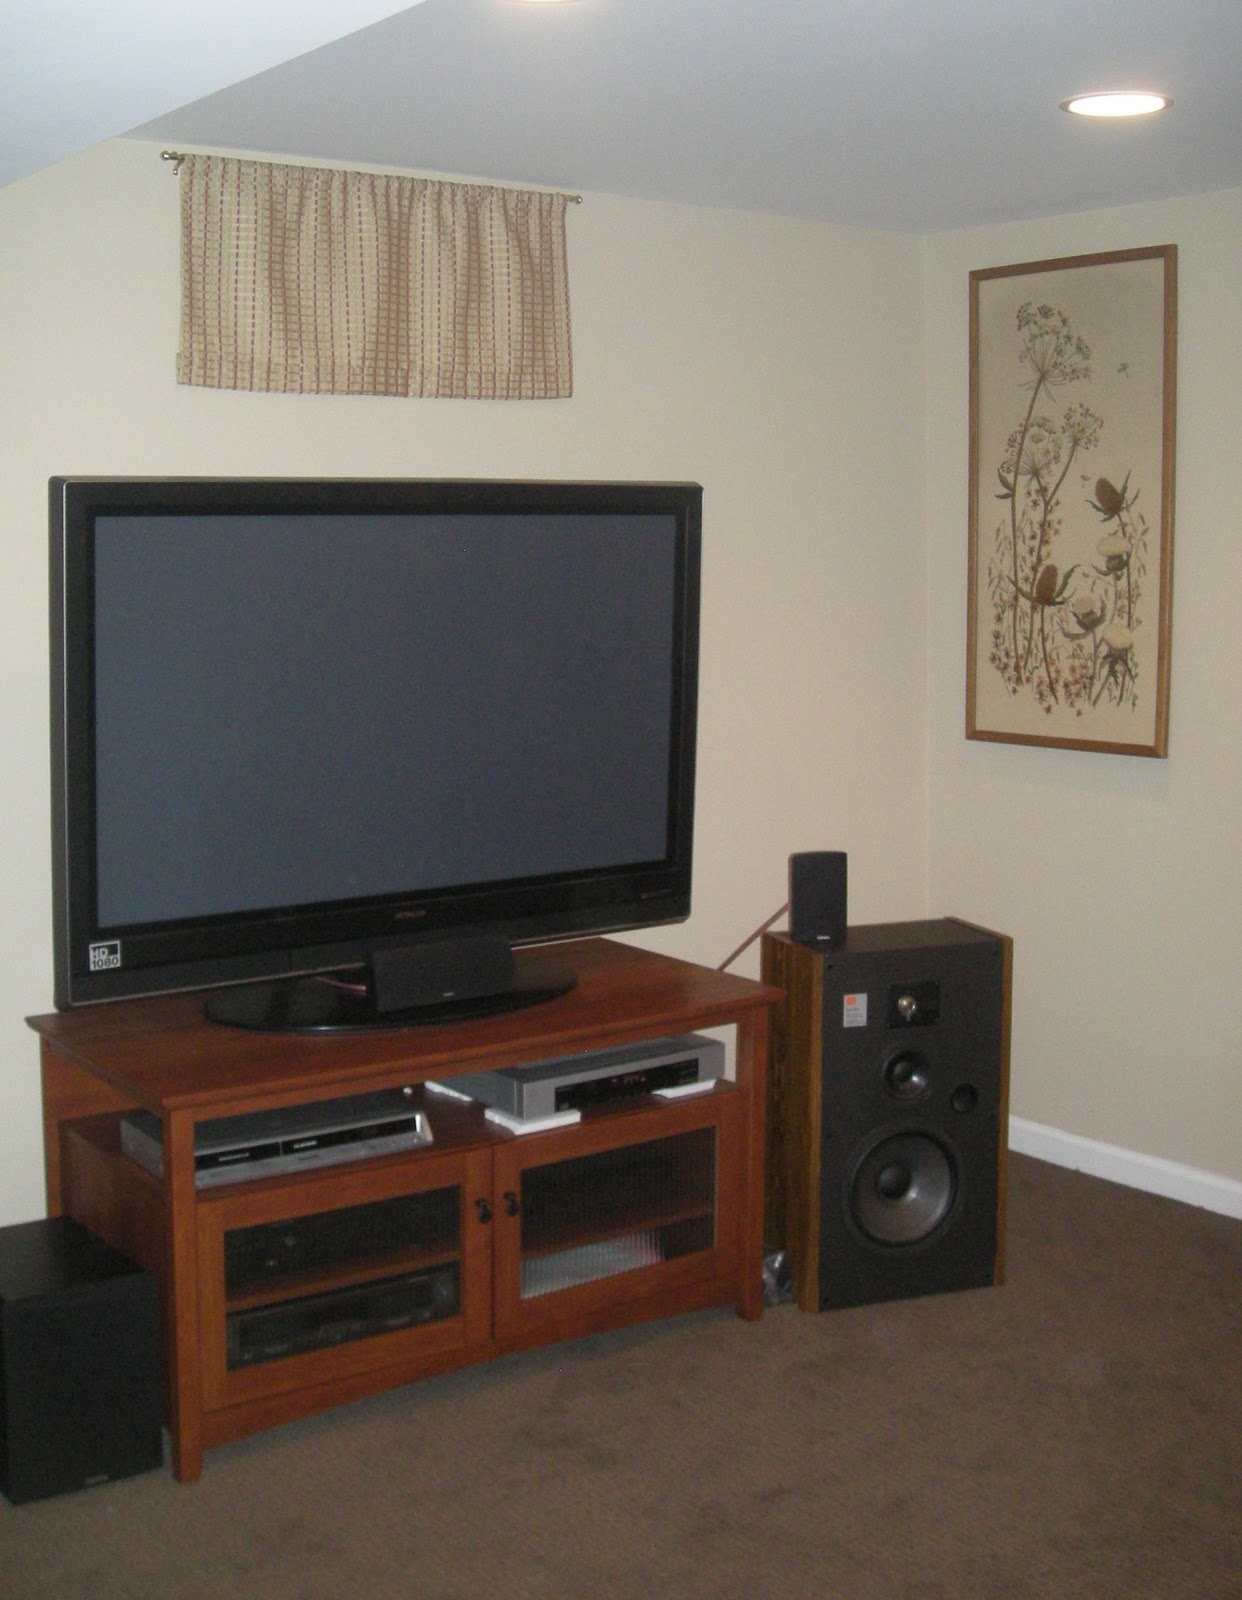
One panel on the window by the TV.

Monday, January 16, 2012

The Simplest Solution

Circular needles come in different sizes and different lengths.  They get tangled up all the time when left to their own curling devices.  My simple storage solution was to get a small binder (7 x 9 ) at Staples with some plastic page covers.  I wrote the needle size and length on the outside with a Sharpie.


Of course, I could keep the whole thing closed with a rubber band, but I hot glued the remaining ribbon on the back and now it's organized and fun to look at.

Saturday, January 14, 2012

The Mother of Invention

Necessity - prompted by a bit of guilt!  After seeing the mess my needles were in and feeling slightly frustrated in never knowing where the needles were, what size I had, or if I could find both (or all for the double point) needles, I decided to get organized.

I really believe that I could never come up with an original idea, but I'm going to score myself pretty high up on the Bloom taxonomy for taking information from another purpose and inventing a new use.  Let's call that "synthesis".

The 4th grade teachers in my school demonstrated a way to fold paper into booklets for students to study vocabulary etc.  The key was to fold it in such a way that the booklet had different levels.  I think that would work for fabric, too.

I took a left over piece of material (about 30 inches long and 45 inches wide) and finished off the edges to look clean and even.  The selvage edges were already finished off, so I could use them as the inside edges of my pockets.   I folded the material so the top edges were about 3 inches apart.


Flipping over the whole project, I brought the bottom edge up about 3 inches below the first edge.


So now I have the potential for two rows of pockets and clean ends (by the folds) at both the top and the bottom.  Thank you, Grade 4 teachers!

I had about 2 yards of multicolored ribbon and centered it in the middle of the outside and pinned it at the edges so it wouldn't move.

Then I stitched a line on the inside of the project just above the flap.  That holds the ribbon in place, but it also gives me an upper pocket and a lower pocket.  You can sort of see the stitching right in the center. 


Gus "helped" on this part.  

Using my "considerable" math skills, I marked 2 inch increments for pocket lines.


Next, it was simply sewing straight lines where there marks were, et voila!, pockets for all of my needles!


The best part?  Roll it up, tie a bow, and put it back in the craft drawer, ready for any project I can think of.


Okay, that's for the straight needles.  Now, how about the circular needles?  I have an idea!


Monday, January 9, 2012

Pick Up Sticks


Sad and empty needles, just waiting for a new project.  
Alas...nothing to knit.

Monday, January 2, 2012

Heigh Ho, Heigh Ho...Back to Work I Go!

After a wonderful and long break from work, I get to go back to school tomorrow.  Lesson plans are all set and I'm anxious to see my classes.  I'll need all of my creative teaching powers to get everything finished before the end of the semester, which is coming up too, too quickly!  Immediately after the end of the semester, I'm presenting a session at the state music convention, and a have a couple of wonderful conducting opportunities on the calendar. There's lots to keep me busy - and too busy to be sewing or knitting on a regular basis.  (I'll still have my "go-to" projects!)

This is my intarsia project (which is on-going)  Obviously, it's a Christmas-themed item, but the secret will have to stay with me until it's finished or until Christmas 2012 (which ever comes first)

Lots to learn with this technique. I think it will be very neat when it's finished (and blocked) Until then...shhh!

Sunday, January 1, 2012

Happy New Year

And a new sweater.  I began this project on a flight out (and back) to California in late October.  Some people collect frequent flyer miles, I guess I have frequent knitting miles.  I put the project on hold when I returned home so I could start on some Christmas gifts and other surprises.  I picked it up again during winter break and finished on New Year's Eve afternoon.  This photo is pre-blocking.  The little bumps and irregularities should smooth out once the blocking is finished.


The lace pattern was very simple, but it was definitely something I had to keep track of.  I think I spent as much time taking out rows as adding them.  All's well, now that it's finished.  This pattern is called February Lady Sweater by Pamela Wynne.  She describes it as "a swingy lace cardigan made to fit a grown-ass woman."  Well, well, well.

This sweater will stay at work to combat the fluctuating temperatures during the winter.  That's why I chose the Cascade 220 superwash yarn in off-white.  It's a BASIC, EVERY DAY sweater that was fun to make.